So…how many of you have had one of those days (or series of days) where every time you turn around, it seems like every person that crosses your path is wasting the time you didn’t have? Well…I’m having one of those days, so I apologize in advance if this isn’t one of my more bubbly posts. (I can’t be bubbly all the time…).
But I’m choosing to put that aside (because it’s not like I can control it anyway) and am choosing instead to focus on the awesomeness that was my past weekend (and actually most days since). I haven’t talked about it much here (and I won’t go into too many specifics), but besides food, I would say that my other (and equal) passion is CrossFit and coaching.
I spent two days last week in a BoxtoBusiness seminar taught in part by Jason Khalipa, one of the all-time CrossFit greats, and a genuinely nice guy. The first day was him and his equally-impressive friend, JP, talking about how set about turning your single-location business into an empire (as they have)! The second day featured A LOT of super practical information from Chris Cooper (another box/gym owner and author of a couple of books that I’ve read over the years) talking about how to turn your single box/gym into a profitable business as well as André Labbé, a physio from New Orleans (and in fact THE physio for the Saints) talking about how to work physio into the world CrossFit coaching/gym management (ding ding ding for me considering that is the whole reason I got into PT in the first place).
Now, you may be wondering why I’m sitting in on a business seminar when I run a food blog and am in school full time to become a physiotherapist. Well, in the years that I worked as an administrator at a CrossFit gym back in TO (aka before starting my current program), there were a few things that I didn’t learn and wanted to. This seminar provided all of that information AND MORE!
There were also several other aspects about the seminar that made it an opportunity that I couldn’t turn it down. One such aspect was the chance to do a workout WITH Jason Khalipa and JP; a workout that started at 6 am across the city from me. 6 AM!!!! I have NEVER lifted anything more than a cup of coffee that early in the morning, but if there is something in the world that would get me up that early to workout, it would be the chance to workout with one of my CrossFit heroes.
And as if all of that didn’t make those two days worth it, when I walked out of the seminar on the second day, I walked into a veritable sea of my CrossFit heroes who happened to be outside the seminar waiting for their competition to start in the same building later that night!!! Now, I have never been that person who falls apart when they see a hero/celebrity, and I have definitely never asked a celebrity for a photo, but my friend/coach/boss who was also at the seminar with me, made the very valid point that I was giving up an opportunity that I had all but tripped over (I almost walked into Chyna Cho leaving the seminar room). So we turned around, and I mustered up the nerve to ask my heroes for a picture. I’m so freakin’ glad that I did.
Now, why am I telling you guys all of this stuff? You came here today because I lured you in with photos of sinfully-delicious chocolate truffes. Well, I have to say that there is something about those two days which seems to have set off a domino effect of very interesting conversations and potential opportunities for me in the future (including blogging opportunities); opportunities which have since given me an almost new-found vigour to withstand the remaining 5 weeks of he!l that my program is going to put me through (heads up for future late/off-schedule posts such as this one).
It may sound ridiculous, but I almost feel as if doing that one seminar which required A LOT of reorganization and hoop jumping to make possible (something which I NEVER do because I’m so rigorous about following my routine/schedule), set me down these other roads of potential awesomeness. It’s almost as if making that one decision to get out of my comfort zone has been rewarded by many new opportunities. Now I have to choose which ones I’m going to follow up on.
Now, it may very well be that nothing will ever come of any of those opportunities, or at least not in the immediate future (my schedule is so jam-packed as it is that I will soon require a Time Turner to accomplish it all), but what I can say is that I will remember all of my experiences and lessons-learned within the context of that seminar FAR longer than I will ANY of the information I’ve learned in the past two months of my program. That is how awesome those two days were!
So…I guess the moral of my story boils down to that adage about how “that which doesn’t challenge you in some way doesn’t change you”. Take chances folks. Mix up your routine. Talk to new people. Get comfortable with being uncomfortable. And, above all, if it scares you, you should probably do it. Unless it’s something like walking into a pit of vipers. You can probably skip that.
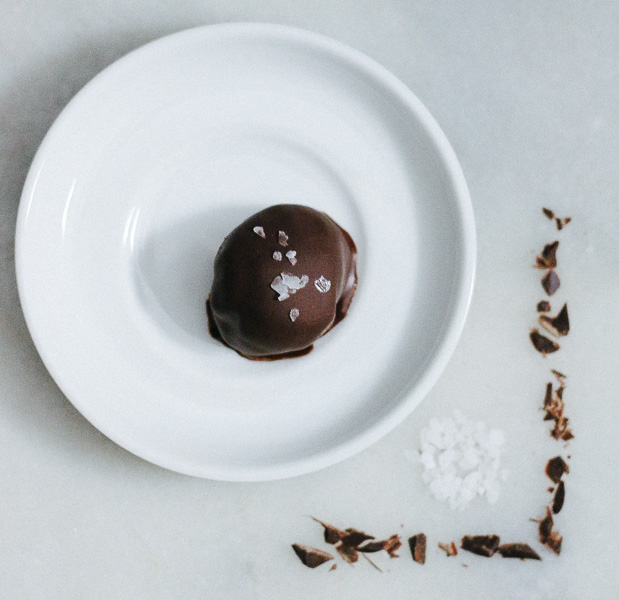
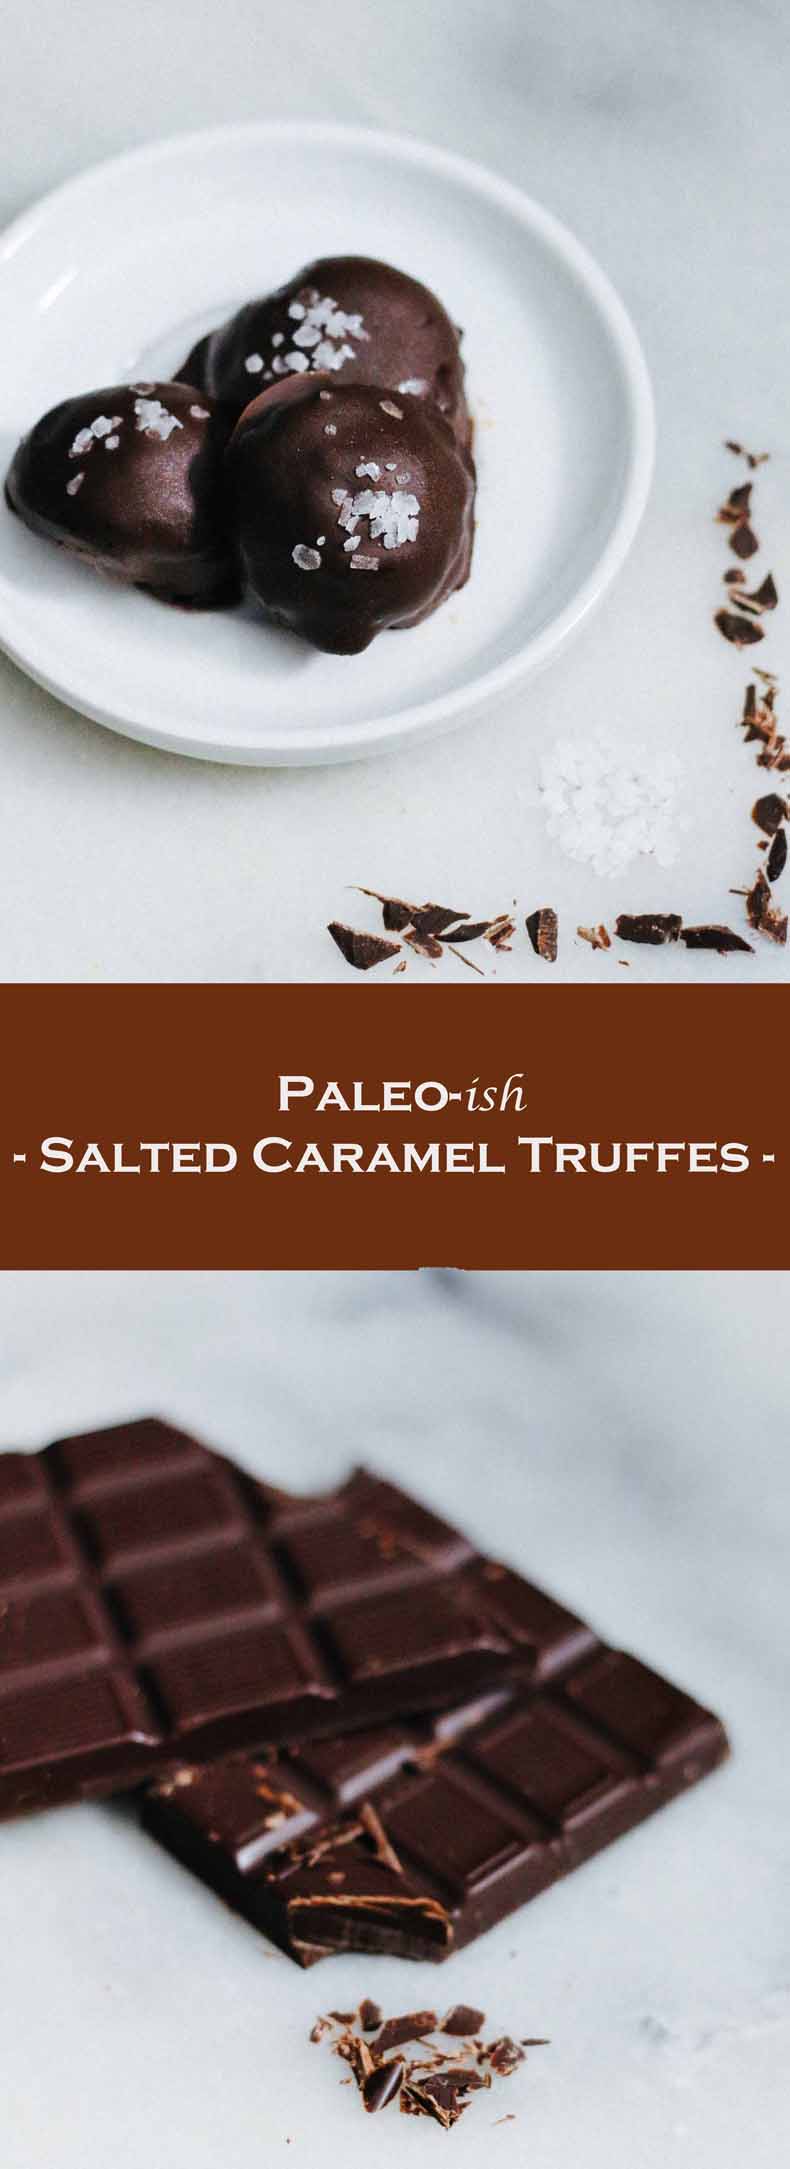
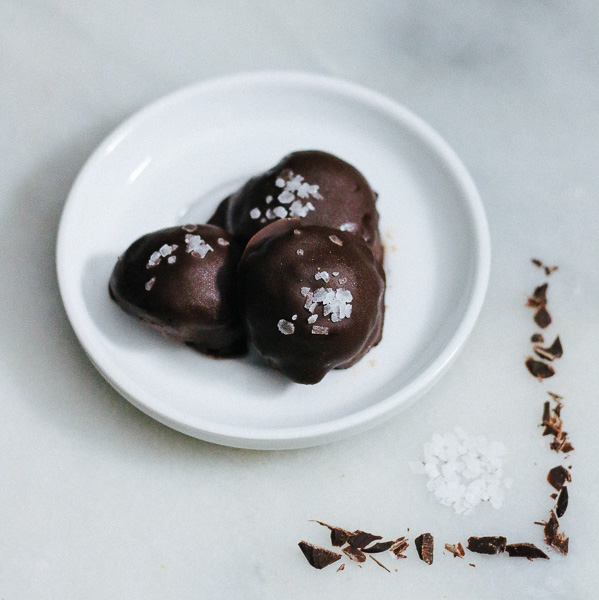
Ok…so now that I’ve taken you down a completely different road, I’ll swing back to the food-based purpose of my post this week…sinfully-delicious Paleo-ish (and vegan) Salted Caramel Chocolate Truffes!
This recipe is a gem guys. NOT KIDDING! The first time I made it, I used dairy and whatnot (a.k.a I followed the recipe) and it was unbelievable. So unbelievable that I made it, let my parents and a family friend try them, and had to make a second batch the next day because we devoured them all. I think I’ve had one of these truffes almost every night for dessert since (and I remember making these truffes back when I lived in Boston…so 1 truffe/night x 365 x 5 years = a he!l of a lot of truffes)! I’m sure you can understand therefore, that when my sentence of culinary leperdom was passed down, this was yet another recipe that I very quickly learned to adapt to follow my rules.
Now…if I had to pick a season for these truffes, I would say that they’re more of the Winter season variety (but that’s mostly because I think the first time I made them was as hostess gifts for Christmas parties. It may also have to do with the serious dearth of apples, cinnamon and pumpkin in the recipe).
Now, I know that folks are still in the hay day of Fall recipes right now. I am too. But I had to make them this week anyway, and was at the seminar all weekend, so…two birds with one stone right? If it helps, there was some beautiful frost on the ground a few mornings ago (I SO wanted to snag a pic, but my friend walks so fast, only the Road Runner would beat her to class, so I didn’t want to stop). And I guarantee you that it has snowed somewhere in the world. That counts, right?
Ultimately…these truffes are just so amazing, they don’t need justifying. They should just be consumed and enjoyed. Punto basta.
Now you may notice as you peruse the ingredient list, that in adapting these beauties, I’ve also essentially made these truffes vegan/dairy-free (depending on what kind of chocolate you buy). They are not, however, Paleo. I’m not sure caramel can be made adequately with coconut sugar, though I wouldn’t be above giving it a shot some day down the road. So keep this in mind die-hard Paleo-ers.
You may also notice that I used my new-old marble as my backdrop (you can get off my back now Mum)! This is THE marble that I grew up watching my mum make puff pastry on, the marble that I spent half a post talking about last week, and the marble that my parents sent to me a couple of weeks ago. Isn’t it pretty?
Pre-Phase 1
Phase 2
Paleo-ish Salted Caramel Truffes
Sinfully-delicious Salted Caramel Truffes. Fool-proof caramel, salt, and dark chocolate. What more could you want? They’re also vegan! (Did I mention that?)
- Prep Time: 45 mins
- Cook Time: 30 mins
- Total Time: 75 mins
- Yield: 20-25 truffles 1x
- Category: Chocolate
- Cuisine: Dessert
Ingredients
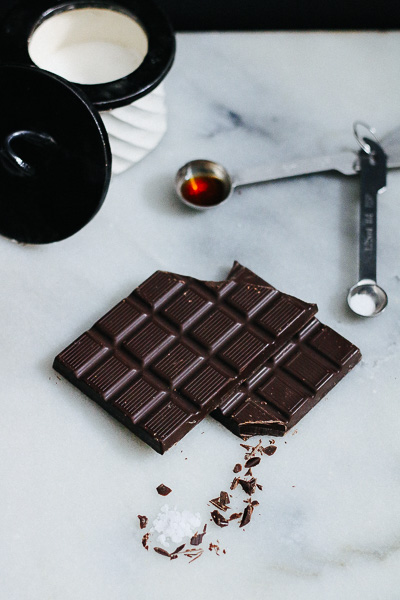
- 14 ounces of high-quality Semisweet chocolate (I use Lindt Zartbitter couverture chocolate)
- 1/2 cup White sugar
- 2 tbsp Water
- 2/3 cup Full-fat coconut milk
- 2 tbsp Coconut oil
- 1 tsp Vanilla extract
- Salt
Instructions
| Phase One |
- Put 1 inch of water in a pot (or bottom half of a double boiler) and place over low-medium heat on the stove.
- Measure out 8 ounces of your chocolate. If you’re using a bar of chocolate, chop into smaller pieces.
- Place chopped chocolate in a metal mixing bowl that fits easily on the top of the pot.
- While the chocolate melts, put your sugar in a shallow pan, and drizzle the 2 tbsp of water on the sugar. Try to cover as much of the sugar as possible. It helps the sugar caramelize more evenly.
- Heat the sugar over medium heat. Avoid, as much as possible, stirring the sugar/caramel. Instead, keep the pan in contact with the burner, and occasionally swirl the contents around slowly until it turns a lovely shade of caramel, about 10-15 mins. The sugar will crystalize and form a crust on top toward the beginning of the caramelization process. This is normal. I promise that if you continue to swirl your caramel, the crystals will dissolve as well.
- Since you don’t need to swirl the caramel the ENTIRE time, make sure you’re also stirring the chocolate as it melts. You also want to mix the vanilla, coconut oil, coconut milk, and a pinch of salt in a small mixing bowl.
- When the chocolate finishes melting, set it aside.
- When the caramel turns a lovely shade of slightly-dark honey, remove the pan from the heat, and add your coconut milk mixture. Be careful you don’t get splattered as the caramel initially hisses and pops at you.
- Using a spatula, stir the coconut mixture into the caramel until uniform.
- Once uniform, add the caramel to the melted chocolate, using the spatula to ensure this mixture is uniform as well.
- Cover bowl and set in fridge for at least 4 hours, but preferably over night.
- Phew! The hard part is done!
| Phase Two |
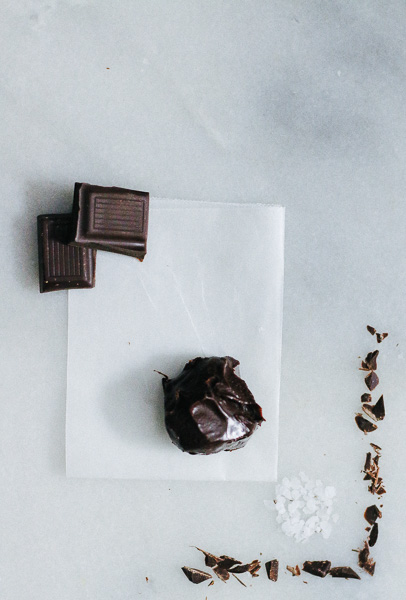
- Line a baking sheet or dinner plate with wax paper. Make sure whatever dish you use can fit in your fridge.
- Scoop the truffes using a small ice cream scoop, or a sturdy tablespoon to scoop your truffes onto the baking sheet/plate. You may need to use a second smaller spoon to get the filling out of the scoop/spoon. Either way, avoid touching the truffes as much as possible. That gets messy.
- Place the plate/baking sheet back in the fridge for at least 2 hours, but you can also leave them over night.
| Phase Three |
- Melt the remaining 6 ounces of chocolate in the same manner as above.
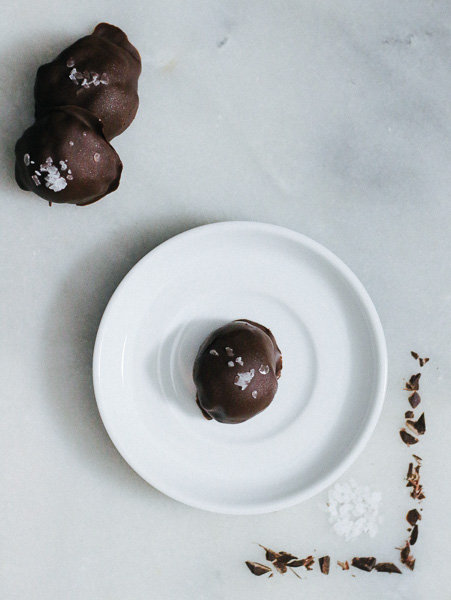
- Dip the truffes by adding a truffe ball to the chocolate, and roll it between two forks in the chocolate until covered.
- Scoop the truffe out with one fork and let the excess chocolate drip back into the bowl through the tines.
- Use the second fork to speed up the process by scraping the bottom of the first fork with the side of the second fork’s tines. (i.e. Fork 1 is flat and holding the truffe on top while Fork 2 is perpendicular to Fork 1 scraping the drizzling chocolate back into the bowl.)
- Slide the truffe back on the wax paper-lined baking tray/plate, taking care not to mangle the top.
- Repeat for every other truffe, stopping to sprinkle more salt on top every 3 truffes or so. I keep a piece of paper towel handy to wipe my fingertips on so that I don’t muck up my salt.
- Place truffes back in fridge for at least 20 mins.
- Once the chocolate has set, place the truffes in an air-tight container so that they don’t take on the moisture of everything else in your fridge. This causes the chocolate to sweat and fall out of temper (i.e. get light brown spots on them) and the salt to dissolve. If this DOES happen, the chocolates are still fine to eat. They just won’t have the same texture and won’t look as pretty.
- Enjoy!!!
Nutrition
- Serving Size: 1 Truffe
- Calories: 152
- Sugar: 21 g
- Sodium: 342 mg
- Fat: 7 g
- Saturated Fat: 5 g
- Unsaturated Fat: 0 g
- Trans Fat: 0 g
- Carbohydrates: 25 g
- Fiber: 2 g
- Protein: 2 g
- Cholesterol: 0 mg
Phase 3
Ok…now for some tips and tricks:
- Tip number one…if you wouldn’t eat the chocolate on it’s own, don’t bother using it for your truffes. Seriously! I know that there is a lot of chocolate used to make this recipe, but I made the mistake of making it with Callebaut chocolate (not one of my favourite chocolates. Sorry Callebaut-lovers) and it was ALL kinds of wrong. Even the BF who has less-discerning taste agreed they were wrong…they tasted the dregs of a Starbucks coffee instead of richly vanilla-ey). I personally go to the Lindt store and buy one of their giant 2 kg bags of zartbitter chocolate chip-like things. Alternatively, I use the semi-sweet Lindt chocolate in the giant gold and blue wrapper, if I can find them. Unfortunately, I don’t have any great tips on how to find this chocolate beyond going straight to the Lindt store to get it.
- I will also point out (allergen-wise) that there is no dairy in the Lindt chocolate that I get (though there are several varieties of Lindt chocolate that DO have dairy in them, so definitely take a gander at the ingredient list if you’re dairy-intolerant).
- There IS soy lecithin in the Lindt chocolate that I use. It doesn’t bother me, but if you’re that sensitive to soy, you can get the Lindt Excellence chocolate bars (I wouldn’t get more than the 70% one though). Downside…they cost THE EARTH!!! But finding any chocolate without soy lecithin pretty much costs the earth, so you may be used to it already.
- Also, if you REALLY want to make sure the truffes are vegan, or if you want to get a more Paleo-friendly chocolate, you can look into Carob. Just make sure that you would, again, be happy eating it all by its onesie before using it for these truffes.
- Tip number five…don’t panic with the caramel. This recipe is pretty fool-proof, even if most caramel recipes aren’t. My experience has been that it all works out in the end. If you REALLY need to break up some of the crystallized sugar on the surface of the melted sugar, stab it into smaller chunks with a fork and immediately put the fork in a glass of hot water to allow the crystals to dissolve.
- Tip number six…it’s hard to precisely explain the use of the forks to wipe the chocolate off the truffes after you dip them in Phase 3. I provided some explanation in the recipe itself, but if you need slightly more description, keep reading. Essentially, imagine tossing the truffe in the melted chocolate (always do them one at a time), toss it around with Forks 1 and 2 like a wad of salad until the truffe is covered by melted chocolate (but not for too long because you don’t want the caramel filling to melt into the couverture chocolate). Once covered, scoop it out with one fork. As the chocolate falls off the truffe and back into the bowl through the tines of Fork 1, use the side of Fork 2’s tines to wipe the excess chocolate off the bottom of Fork 1’s tines. I would have taken a picture but there is only one of me and both of my hands were holding the forks during Phase 3, so words are the best tools I have. I hope it makes sense…
- Tip number seven…use indirect heat to melt the chocolate. If you have a double boiler, you’re awesome! I don’t have one, so I use a pot with about an inch of water in the bottom, and a metal mixing bowl sitting across the top of the pot (but not IN the water if I can. Steam is more indirect heat than a hot water bath, though a hot water bath would work better than melting the chocolate directly in the pot). Once the water in the pot boils, the steam from the water is what melts my chocolate evenly, without separating it (i.e. making it fall out of temper). Make sure you stir the chocolate every now and again as you melt it.
- Tip number eight…related to tip number seven, once the chocolate is melted, take it off the heat!!! Chocolate is a finicky beast and if it starts to separate (aka get manky) you’re pretty much done for. So melt it, take it off the heat, and work fast.
- Finally, this is definitely one of my more complicated recipes, but if you split the 3 Phases up between 2 or 3 days, each phase really doesn’t require that much time. Each phase takes about 15 minutes, and the rest is passive time spent chilling in the fridge; the chocolates, not you.
Ok…I think those are about the only tips I can give you on this recipe.
I hope you enjoy them! Feel free to let me know if you do! Also, if you have questions on how to make the caramel or dip the truffes, feel free to comment below or email me through my Contact page!
Ciao for now folks! I hope you have a wonderful week!
