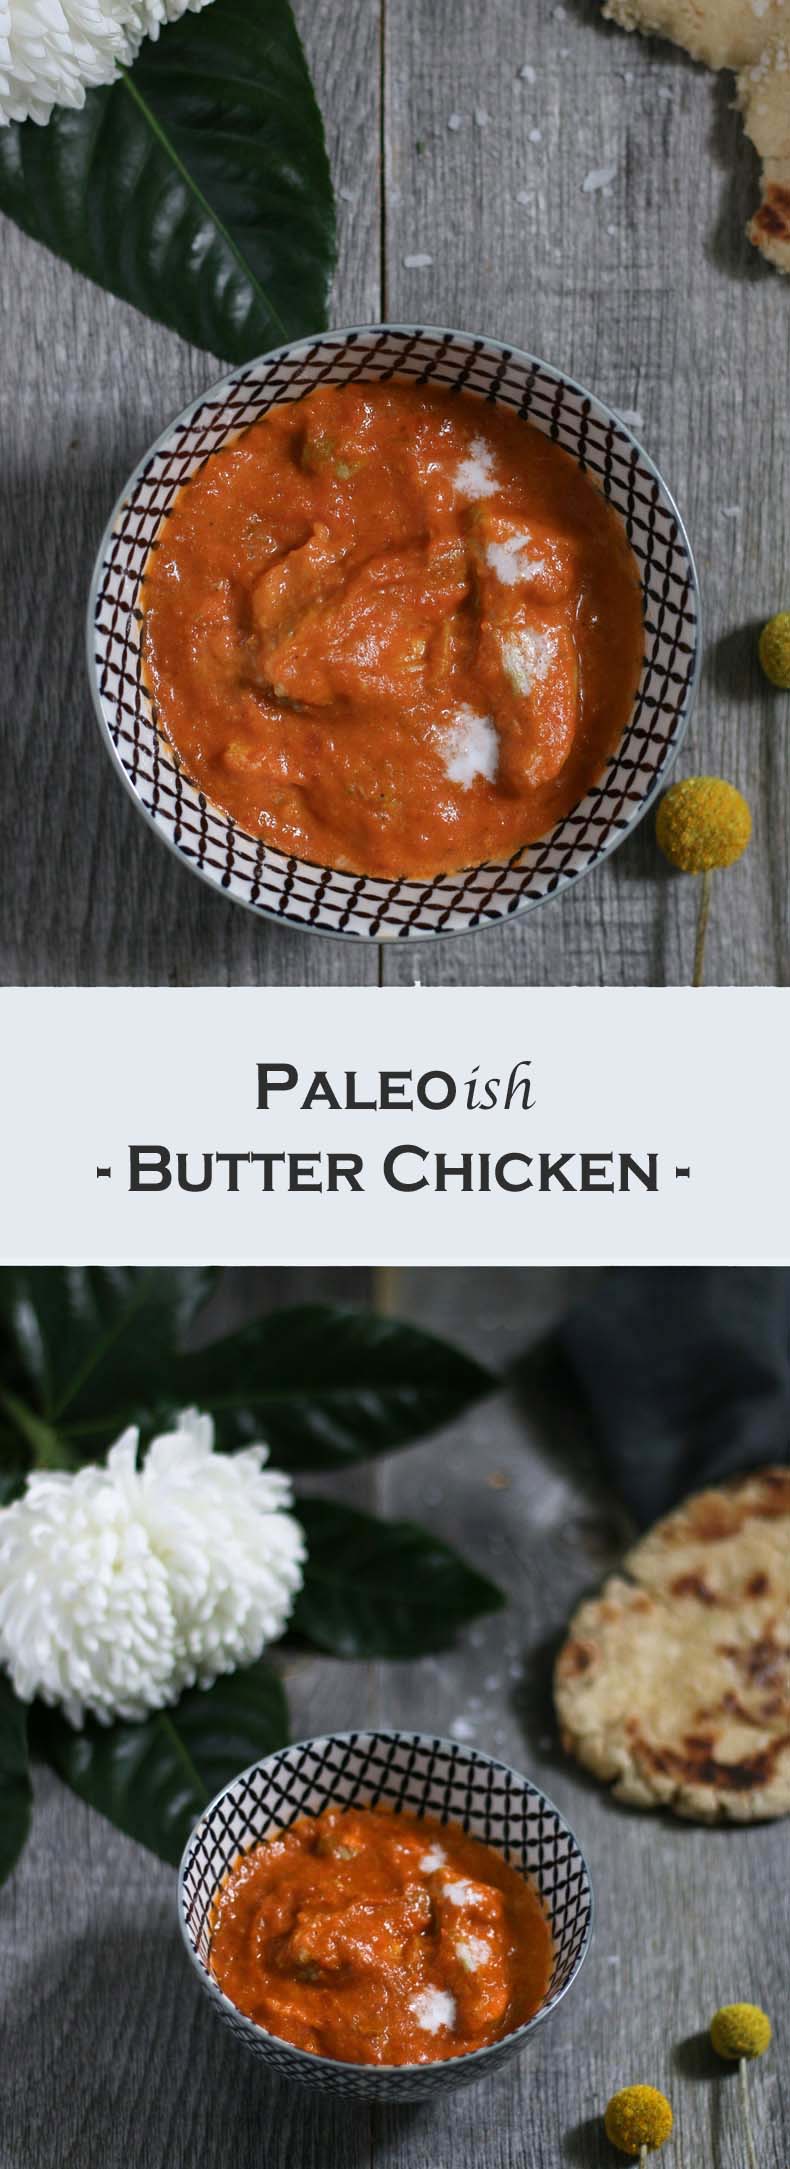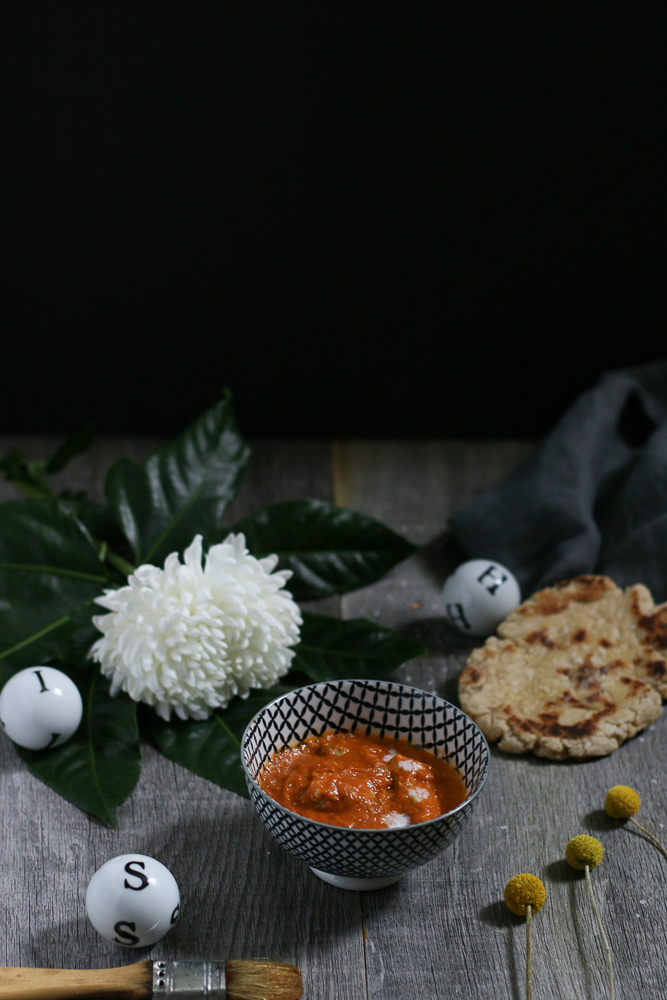
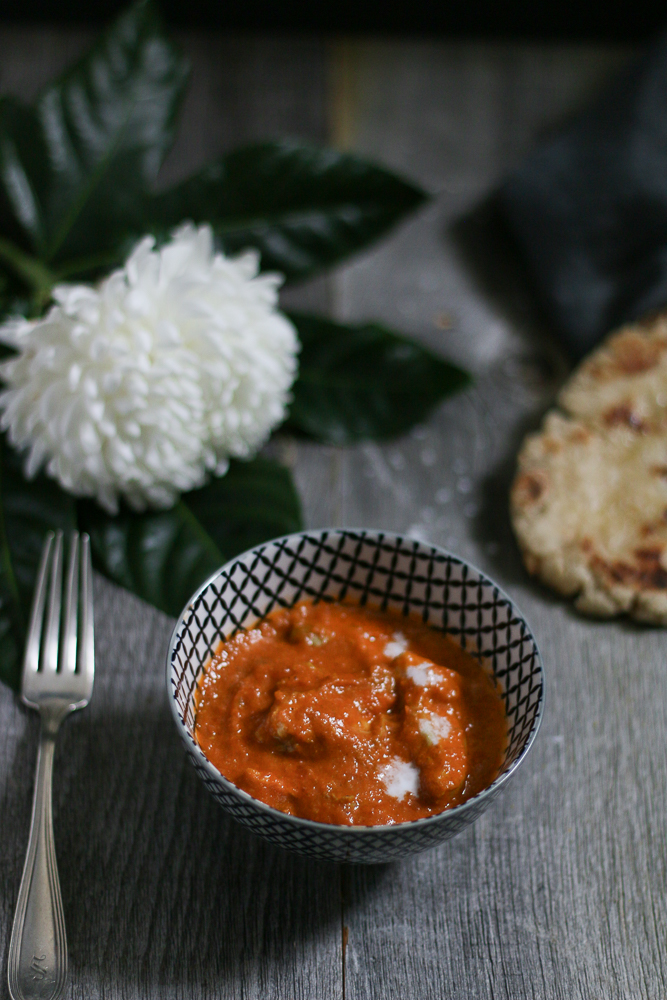
Drumroll please. The day has finally come guys. Today, is the day that I will share with you my recipe for Paleo Butter Chicken!!!! It honestly tastes like the dairy-laden delicacy that it originally is! I swear, you won’t even miss the butter; though, admittedly, that’s likely because I use Nutiva’s “butter” coconut oil product that I found in the mutant *cough* ‘healthy’ section of the supermarket. I’m usually pretty leery about faux-flavoured foods, but I figure if it doesn’t break any of my dietary restrictions, it can’t be that bad for me…right? Besides, how much of it could I possibly consume in a short period of time?
Well…I just scrolled through my recipe archives and realized that I’ve been talking about this Paleo Butter Chicken recipe since my Paleo-ish Naan post at the end of January (and I started developing it the week before when I posted my Paleo Paella recipe)! That means that I’ve been eating some version of this Butter Chicken (and my Naan. Can’t forget the Naan.) almost every week for 2 months! And I still want to eat more! That is some serious withdrawal. I MAY have to start switching things up – you know, before some level of malnourishment sets in… Maybe next week… Or the week after…
I’m officially back in classes now, and, man, was it a rude transition! Usually, there is at least a one-week grace period free of tests and assignments; you know, so students can get their feet back under them as their schedule gets completely tossed around. Not this semester. It was straight into the deep end for everyone. Of course, it was only after we were all tossed in, tits over tea kettle, that we realized we had cinderblocks tied to our ankles. Sh*t.
I have to say that despite my persistently busy life, very rarely have I felt simultaneously paralyzed and frantic, but that pretty much sums up the past couple of weeks for me. I’ve been frantically paralyzed (how’s that for an oxymoron?!). On top of the usual chaos brought on by the start of a new semester (putting all my due dates and readings in an agenda, printing endless documents, etc.), the CrossFit Open is still going on which means a) I have to adjust my regular workout schedule to do a given workout at least once in the span of 4 days, and b) I spend one morning every weekend judging other athletes’ Open workouts.
I also spent a good portion of last week organizing a trip to Albany because I was accepted to the volunteer Medic team at the CrossFit East Regionals being held there in May (woot woot!). I’ll be the only PT on the team, and the only student. Eeep…
I applied in the first place just to see if they would take a PT on the team, let alone a student, and fully expected that they wouldn’t. I figured, at the very least I would get information for next year when I’ll be a practicing physio. But then they took me! So…yea…giddy up, get dirty, and learn lots. That’s going to be my adrenaline-fuelled M.O. for the 4 days that I’ll be in Albany. I’m actually super excited for the experience. It seems that the team is composed of, and run by, a lot of super awesome people.
Newho…Upon organizing said trip, I realized that I had to renew my passport. Sigh. Thankfully, the Quebec Government French test that I had to register for last week also requires a passport photo, so I figured I would kill two birds with one stone and get two sets of passport photos. How wrong I was…
The passport photos were terrible. I looked like a strung-out drug addict. Actually. Note to self: must apparently wear makeup and wear semi-professional clothes (at least) to get passport photos taken. I don’t usually wear makeup, or semi-professional clothes for that matter (Lululemon and sports bras for the win!), but I guess since you’re no longer allowed to smile (and I’m often accused of having resting b*tch face), I need every thing in my corner to take a halfway decent photo.
Do any of you take good government ID photos?! If so, please share your secrets! My parents have started a collection of ALL the bad – and they are REALLY bad – government IDs I’ve had over the years, starting with my first ever Driver’s Licence. My most recent health card photo is epic. I realized just before the camera went off that I had a pen in my rat’s nest bun thing. Not wanting a picture of a black thing sticking out of the side of my head for 7 years on a health card, I, luckily, yanked it out just in time for the camera click, but my face…oh my face. I look like I haven’t slept in 4 days and am strung out on coffee; completely frazzled, bangs askew, fly-away hairs everywhere, and eyes the size of saucers.
Anyway, while there was NO WAY I was going to use the drug-addict photo for my 10-year passport, I did use it for the French exam. Because, really, I’ll never have to see that photo again (I hope). Some poor government worker is going to have to look at it. It may go up on the wall of worst ID photos ever (because I’m fairly certain there would be one. Why wouldn’t you create a wall like that?! I would if I was that government worker stuck in, what I presume to be, a dreary cubicle all day.)
But then I had to find a DIFFERENT time that I could take a passport photo where I would actually look good. What day did that end up being? The day MTL got whacked with the biggest snowstorm of the year! Go me! The photo wasn’t great. My hair was kinda windswept to one side and had its usual appearance of a tumbleweed. But I wore better clothes, and actually put a dash of make-up on (yes, I put makeup on JUST to get a passport photo taken) so it looked one he!l of a lot better than the first round. Those photos are now in the mail and that task is off my desk.
At the same time that ALL of this was happening (remember this was all last week along with a full course schedule, coaching, and training), I was also finishing up a photography workshop. That’s right, folks! I signed up for a photography workshop with Eva Kosmas Flores of Adventures in Cooking! If you’ve never seen her photos, go now. They’re gorgeous. She usually does in-person travel workshops, which I fully intend to do one day. A few months ago, Eva announced that she would do an online workshop over the course of 4 weeks, and I leapt at the opportunity! Her specialty is moody daylight photography, so don’t be surprised if my photos change a bit over the next couple of weeks as I incorporate and play with the new tricks I learned about my camera as well as post-processing!
In fact, this post’s photos, were taken in daylight. Because of my schedule, and the fact that I currently live in a basement apartment, I’ve been taking all of my photos to date with artificial light. I love the artificial lights I use. They’re supposed to be the same light value (in Kelvin) as a sunny day, but the fact that the light is coming from a single source rather than streaming in through a larger window creates a ‘harshness’ that my limited capacities as a photographer have not been able to mitigate with diffusers, etc. Besides, I’m always game to learn new things. So I did this workshop and am loving the differences I’m seeing already in my photos. I just have to figure out how to adjust my schedule to take photos when there is actually daylight to use! But figure it out, I shall.
Now…back to the Butter Chicken! As I’ve mentioned several times before, Butter Chicken is my number 1 favourite Indian dish. There are several dishes that I use to measure the quality of an Indian restaurant’s food. Butter Chicken and Naan are pretty much at the top of the list, followed by Aloo Gobi (which I actually have a tasty recipe for and will share at some point), Pakoras/Onion Bahjis, tamarind sauce, and Gulab Jamun! While I don’t think I’ll ever be able to adapt the Gulab Jamun (they are deep-fried milk balls after all), the others I can and will as time goes by! You guys already have my Paleo-ish Naan recipe. (Soooooo goood). So now it’s only fair that I share a curry recipe to go with it!
I know I’m starting to sound like a broken record here, but this recipe really isn’t hard. It does, however, have a longer-than-usual list of slightly uncommon ingredients, and requires some pre-planning as the chicken needs to marinate in a sauce over night before you make the tomato-based sauce we’re all so familiar with. I have done the recipe with only 4 hours of marination (that’s a word, right?), and the chicken was still super good. That being said, I do think having the chicken marinate over night DOES make a bit of a difference. So if you can swing it, I highly recommend you have the chicken sleep overnight in its curry bath but if not, you’ll still have a mighty fine meal ahead of you!
Regarding the ingredients, there are a couple that you’ll probably have to get at a bulk barn, ‘the place that has everything’ if you’re at the St. Lawrence in TO, or Aliments Merci at Jean Talon market if you’re in MTL. While you’re in these places, you can get most of the rest of your ingredients (as well as everything else you would need for the week) so it may not change your shopping routine that much. Obviously, Indian specialty stores will also have these ingredients.
Also, while you can certainly use a jalapeno to heat this dish up, I would HIGHLY recommend searching a bit harder to find a serrano chili. It actually makes a huge difference to the flavour.
And as long as I’m HIGHLY recommending things, as I mentioned above, there is this new-to-me product by Nutiva which is butter coconut oil. If you can find this stuff, GET IT!!!!! It’s 100% worth the 9 bucks. I think I’ve gone through 2 1/2 jars in 2 months. SO GOOD; both for this recipe as well as the Naan which you’re obviously going to make too! That being said, if you can’t find this glorious product and you’re not as culinarily leper-like as myself (read: you can tolerate dairy), use butter in place of the butter coconut oil! If you can’t find it AND you can’t tolerate dairy, then regular coconut oil it is for you! Sorry. It is available on Amazon.ca if you can’t find it and really want to give it a go. Just sayin…
Now…time for a funny story/word of warning. Apparently, if you leave the chicken cooking in your cast iron pan for slightly too long, the sauce the chicken was marinating in burns and eventually catches fire. Yup! This former chef managed to set a pot on fire (and, it’s actually not the first time, but THAT story is for another day).
SO, if you don’t want to be like me, putting a small kitchen fire out in your favourite pan, and then taking it for a walk in the snow at 9 PM, leaving your back door open, and a fan on to get the smoke out of your apartment, I highly recommend you watch your chicken a little more attentively than I did. Thankfully, the original recipe called for grilled chicken. Grilled chicken is just charred chicken with a different pattern, right? At least, that’s what I told myself as I decided to use the charred chicken for this one batch of Butter Chicken. Thankfully, it wasn’t the batch that I ended up foodographing. It definitely didn’t look (or taste) the same. Moral of the story: DON’T burn your chicken!
Ok…recipe time! Paleo Butter Chicken is finally here!!!!
Paleo Butter Chicken
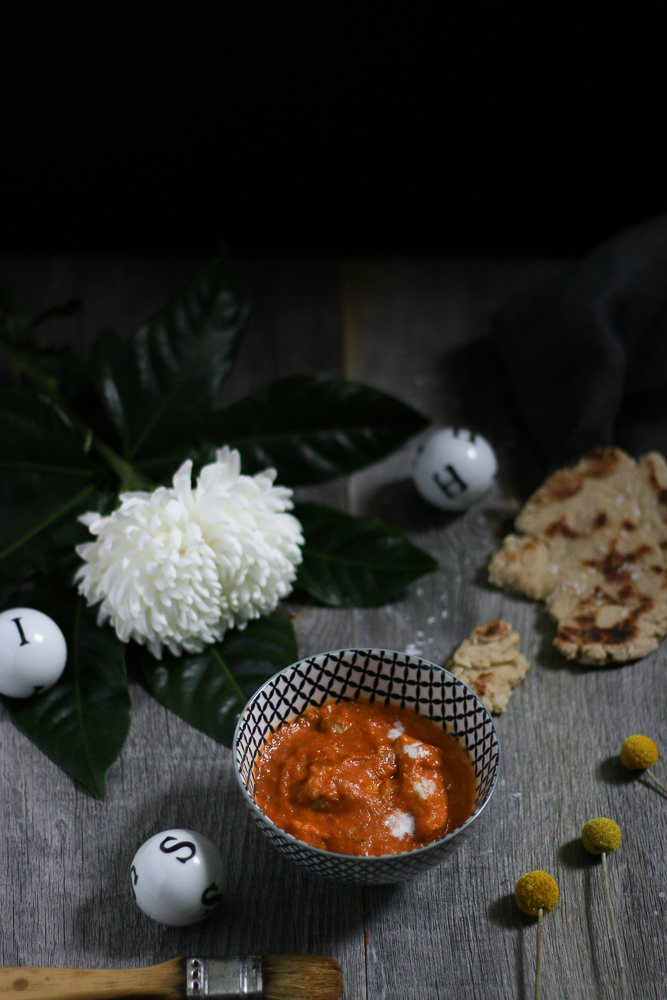
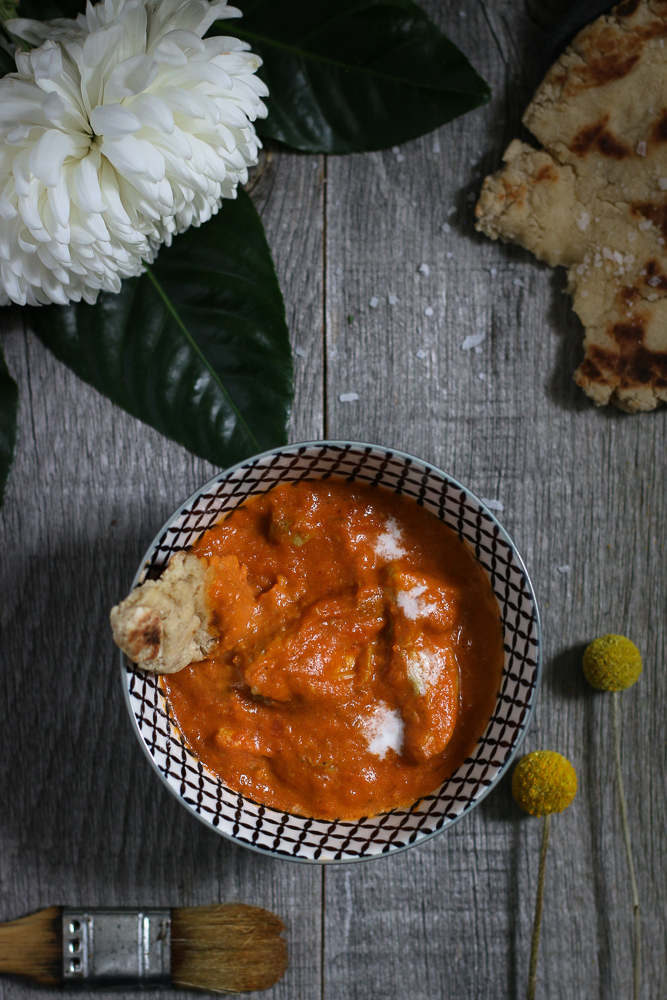
Paleo Butter Chicken! Wonderfully rich with a hint of heat, this healthier version of your favourite classic Indian dish will have you begging for more!
- Prep Time: 40 minutes
- Cook Time: 40 minutes
- Total Time: 1 hour 20 minutes
- Yield: 4-5 servings 1x
Ingredients
‘Curry Chicken Bath’ Things:
- 1 1/2 tsp turmeric
- 1 1/2 tsp garam masala
- 1 tsp ground coriander
- 1 tsp ground cumin
- 1 tsp coarse salt
- 1/4 tsp cayenne pepper
- 2 cloves garlic, minced
- 1/2 inch chunk of ginger root, peeled and diced
- 1 cup full-fat coconut milk
- 2 lbs boneless, skinless chicken thighs
Curry Sauce Things:
- 4 tbsp ‘butter’ coconut oil or ghee
- 1/2 tsp ground cardamom
- 1/2 serrano chili (or jalapeno if you really can’t find a serrano), diced
- 1 inch chunk of ginger root, peeled and diced
- 1 tsp ground mace
- 1 clove garlic
- 1 (28 oz.) can of diced tomatoes
- 1/4 tsp cayenne pepper
- 1/2 tsp ground coriander
- 4 tbsp ‘butter’ coconut oil or ghee
- 1 1/2 tbsp honey
- 1/2 tsp ground fenugreek leaves
- 1/3 cup coconut milk
- 1/4 cup chicken stock
- Coarse salt, to taste
Instructions
Curry Chicken Bath
- Stir all ‘curry chicken bath’ spices as well as the garlic and ginger in a small bowl until uniformly mixed.
- Add the coconut milk. Stir.
- Place your chicken thighs in a ziploc bag and add the Curry Bath Slurry. Seal the bag, and mush the chicken and ‘bath’ mixture with your hands until it envelopes the chicken.
- Marinate overnight (or at least 4 hours) in the fridge.
Butter Chicken:
- Heat 2 tbsp of ‘butter’ coconut oil in your cast-iron (or non-stick pan).
- Add your chicken thighs, leaving about 1 cm around each thigh to cook. You will probably have to do 2 batches of chicken in the pan. Cook each side for about 3 mins, or until the chicken is no longer pink in the middle. Set cooked chicken aside to cool.
- Meanwhile, start making your sauce. Heat another 2 tbsp of ‘butter’ coconut oil in another non-stick pan/pot. Add the cardamom, serrano chili, ginger, mace, and garlic, and sauté until aromatic; about 30 seconds to a minute.
- Add your diced tomatoes (with all of their juices), and cook until the tomatoes easily fall apart; about 6 minutes.
- If you have an immersion blender, blend the tomato mixture in the pan/pot. If you don’t, pour your ingredients into a blender, and blend until you have a sauce-like consistency.
- Return the sauce to your pan/pot and add the cayenne pepper, coriander, and 4 tbsp of ‘butter’ coconut oil.
- Let simmer for 20 minutes on medium-low heat; stirring occasionally.
- Chop your cooled chicken, and add to the sauce after it has simmered.
- Add the honey, fenugreek, chicken stock, and coconut milk. Salt to taste.
- Enjoy!!!
Notes
Inspired by Russ Crandall’s “Butter Chicken” recipe in Paleo Takeout: Restaurant Favourites without the Junk.
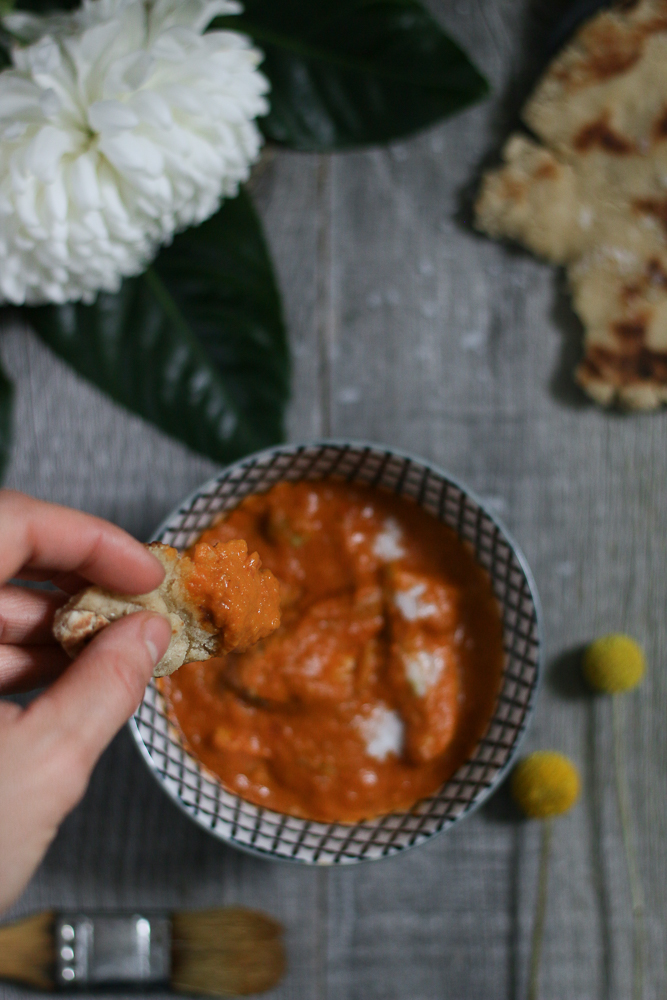
Ok…so that’s that for this week folks! I’ve started developing a couple of recipes for further down the line that I’m super excited about, so stay tuned. In the mean time, try not to eat all the Butter Chicken in one sitting (or do it, and bask in the glorious gluttony. You can confess your sin the next day. I’m sure the man upstairs will understand.)!
Per usual, if you have any questions or comments (or have any tips on how to take good Government ID photos!), feel free to leave them below, or give me a shout!
Ciao for now!
