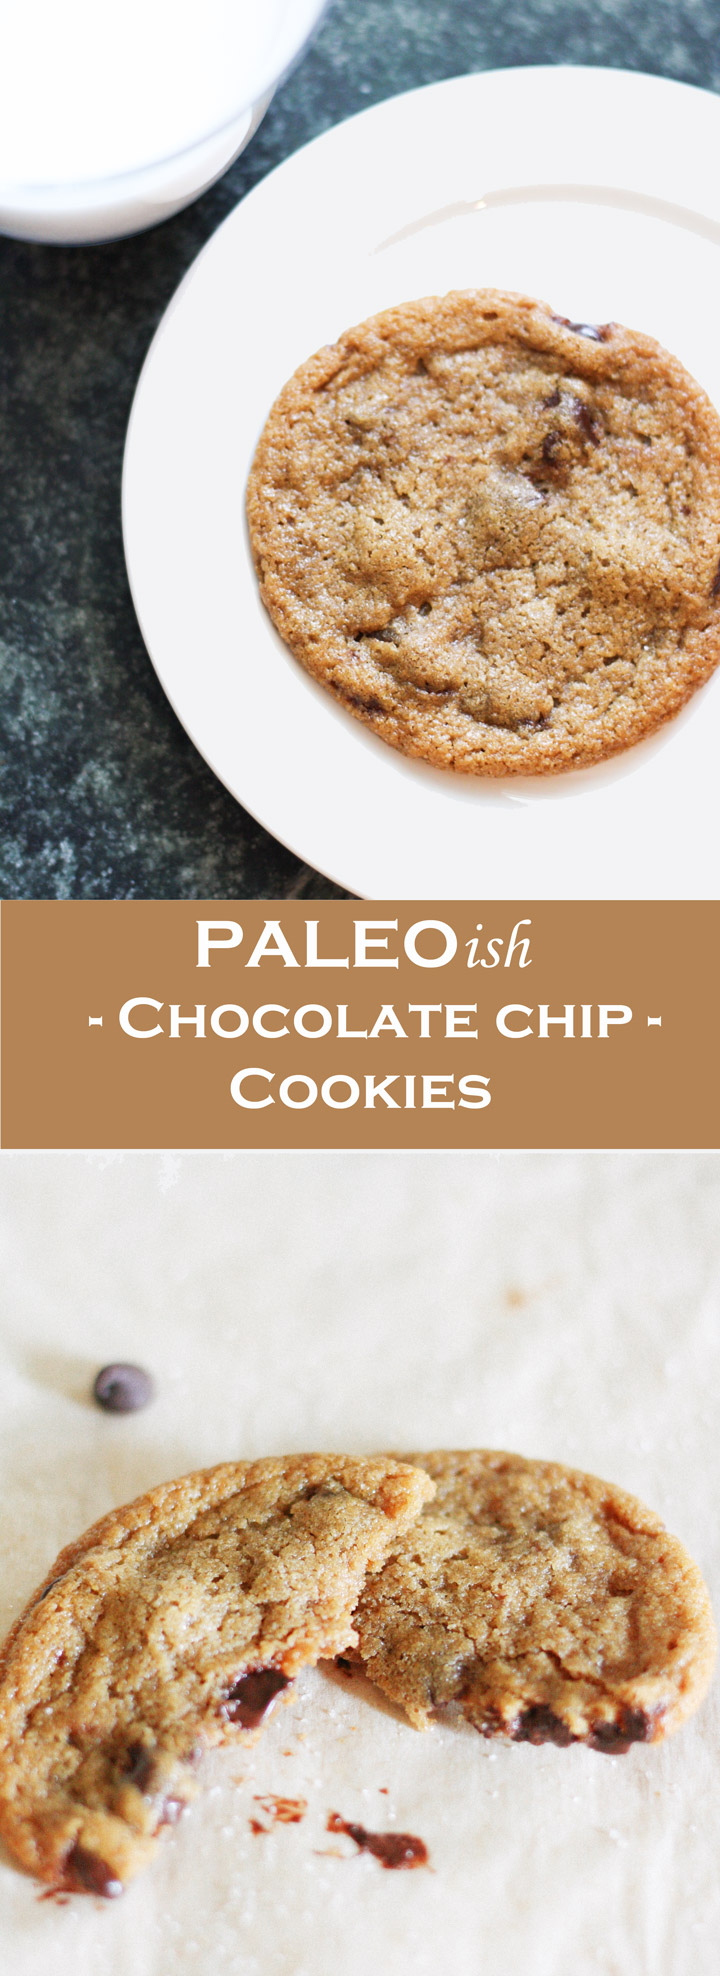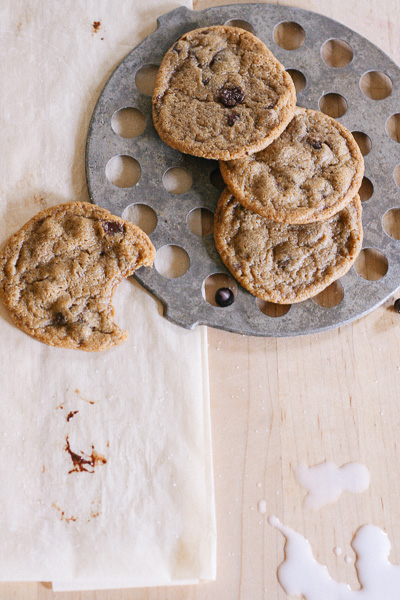
Ok…so here goes! First blog post ever (with a goal of posting a new recipe once a week). And what better recipe to post than an absolute classic…chocolate chip cookies?!?!?
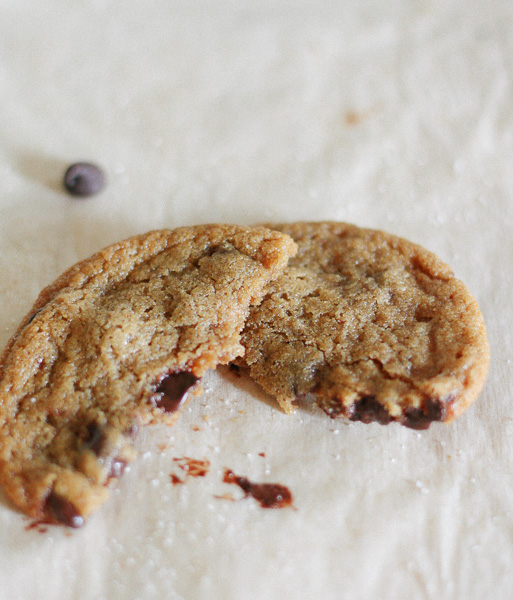
These, however, are not your average chocolate chip cookies. In fact, they’re pretty much da*n near perfect. Crispy on the bottom and around the edges, yet gooey in the middle; even gooey-er if you shave off a minute of baking time 😉 (p.s. I love the word ‘gooey’. It’s like the word ‘fluffy’ or ‘fuzzy’ in its onomonatopoeia-ish-ness. What does that mean, you ask? Well kind sir/gentle madame, what I have decided it means is that when the word “gooey” is heard, a warm feeling appears in the tummy region and slowly spreads to the brain, which says ‘Yum!’, before finishing at the mouth, where it transitions to a smile :D)
Now, as you may or may not have seen on my About page, I know a thing or two about cookies. You see, I spent a year of my life (with the best boss on the planet btw) making the tastiest cookies at Moo Milk Bar, a wicked cool and trendy milk and cookies bar in Toronto, Ontario. And oh were the cookies grand! There were toffee bit cookies, cookies ‘n’ cream cookies, Cowgirl cookies, oatmeal coconut chocolate chip cookies, and these deliciously gooey (see there’s that word again) flourless chocolate cocoa cookie thingies…drool.
Anywho…it was here that I learned that cookies, while nearly indestructible, still have an underlying chemistry (as all baked goods do, really). This meant that to get the same crispy, yet gooey gluten-, egg- and dairy-free cookie, I had to replicate the chemistry, not just sub dry ingredients for different dry ingredients kind-of-thing. So…with the extra time granted to all students around Christmas time (and the guilt surrounding eating cookies for breakfast generally lifted during the holidays), I set out this past Christmas to make cookies.
And make cookies I did…recipe after recipe after recipe, and when I found one that was close enough, I then worked my magic and baked batch after batch after batch; much to the delight of my family and the BF, though perhaps not the delight of their waistlines.
It was also during this time that I started to think about finally setting up a food blog. Alas, I set the wheels in motion to put my blog together right before I was tossed into the 9th ring of hell that is the second semester of my program which also, coincidentally ran straight into completing my “stages”.
Aside: For those of you who are unfamiliar with the term ‘stages’, it is essentially this century’s version of indentured servitude. A practice common to many university programs, and often called ‘internships’, it essentially consists of requiring already-broke students to pay for the honour of working full-time for free at another institution. In return, they’re taught how to be a professional. Does the student learn? Absolutely. Is the student grateful for the opportunity? Yahuh! Is it better than sitting in class? Da*n skippy. Should the student be asked to pay when they are working full time hours and (at least partially) relieving their supervisor of his/her workload? Ehhh…that’s debatable. Can I do anything about it? Nope…so I’ve just been carrying on my merry way and taking my sweet a$$ time putting my blog together with the few scraps of free time left to me over the past 8 months. Sigh. But slowly blogging I have been…
And here is the result!!!! Paleo-ish (i.e. gluten(-ish), dairy, egg, nut, and soy(-ish)-free) chocolate chip cookies! Whoop whoop!
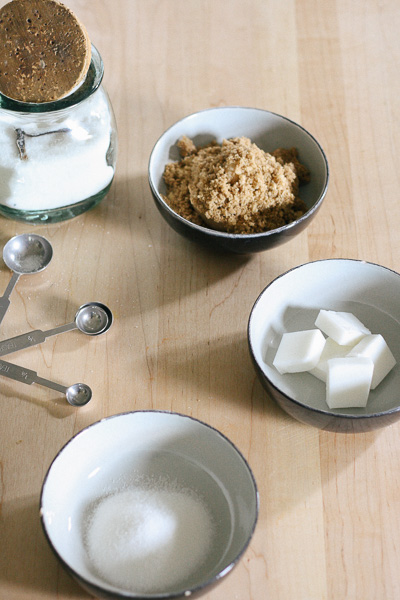
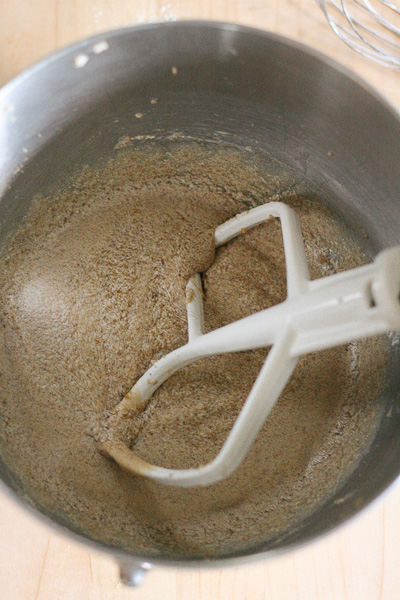
Ok…so the dough separates a bit (a.k.a. has a vomit-like quality to it) before you add the dry ingredients. That’s normal. It comes back together again. I promise!

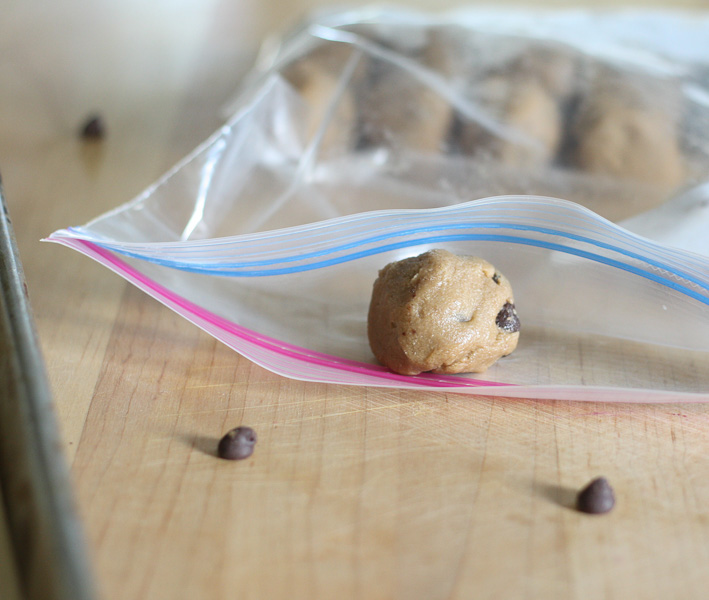
I couldn’t help but post this one. The little cookie ball just looks so cute; like he’s trying to run away or something!
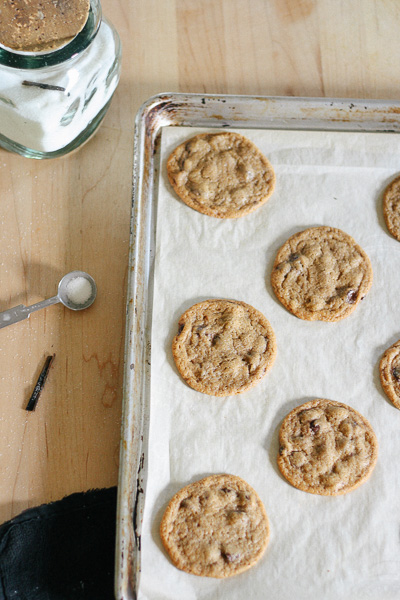
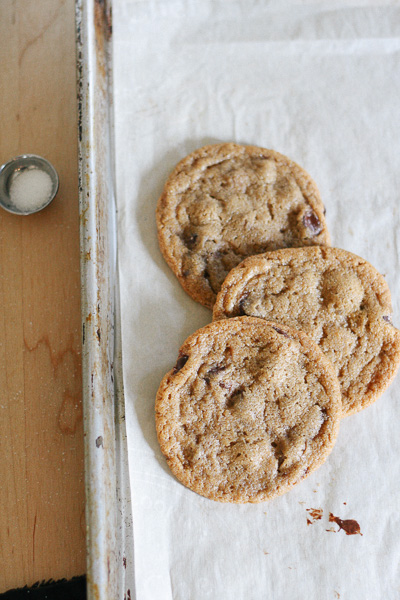
| Paleo-ish Chocolate Chip Cookies |
Gooey yet crispy cookies that are gluten-, egg-, soy-, dairy- and nut-free!
- Prep Time: 25 mins
- Cook Time: 10 mins
- Total Time: 35 mins
- Yield: ~30 cookies
- Category: Cookies
- Cuisine: Baked Goods
Ingredients
| Cookie Things |
- 3/4 cup + 2 tbsp Lard, room temperature
- 1/4 cup + 1 tbsp White sugar
- 1 cup + 2 tbsp Brown sugar
- 1 1/2 Tbsp Glucose
- 1/4 cup Water
- 1 1/4 tsp Canola oil
- 2 1/2–3 tsp Vanilla extract
- 1 cup Arrowroot starch
- 3/4 cup Oat flour
- 1/3 cup Quinoa flour
- 1 tsp Baking powder
- 3/4 tsp Baking soda
- 1 tsp Fine table salt
- 1 tsp Xantham gum
- 3/4 – 1 cup Chocolate chips
Instructions
| Dough Making |
- Place the lard and sugars in the bowl of a stand mixer with a paddle attachment. Cream them on medium speed until things get super fluffy (i.e. you can’t see sugar grains any more). If you don’t have a stand mixer, you can use egg beaters, but you may be there for a while…
- Add the glucose. Glucose is a rat b*stard to deal with, but if you lightly spray the tbsp with canola before dipping it in the glucose, your life will be SO much easier.
- Continue mixing for a few minutes. Also make sure to scrape the side of the bowl down with a spatula from time to time.
- Add the water, canola oil and vanilla. Continue mixing on medium speed. Things will separate for a bit. That’s ok. It will all come back together.
- While things are mixing, sift the rest of your dry ingredients (except the chocolate chips) into a separate bowl, and mix them with a whisk until uniform.
- Once the dough has collected itself in the mixer, reduce the speed, and slowly add the sifted dry ingredients until you have a uniform dough.
- Add the chocolate chips. Mix until uniform.
- Scoop your cookies onto a baking tray lined with parchment paper, making sure they’re little 1″ diameter balls, and refrigerate them for 20 minutes. (Do your best to refrain from eating the dough balls…though, given that there are no eggs in this recipe, you COULD eat the dough all you wanted and not worry about getting sick!)
- Transfer the chilled dough balls to a Ziploc bag, and freeze them for at least 24 hours.
| Cookie Baking |
- Preheat your oven to 350 degrees
- Line your baking tray with parchment paper, or SilPat (they tend to be crispier when baked on paper)
- Place cookies on the baking tray at least ~1″ apart.
- Bake for 9-10 minutes, depending on how hot your oven runs (or until desired gooey-ness has been reached).
Nutrition
- Serving Size: 1 cookie
- Calories: 156
- Sugar: 14 g
- Sodium: 2 g
- Fat: 8 g
- Saturated Fat: 3 g
- Unsaturated Fat: 4 g
- Carbohydrates: 20 g
- Fiber: 1 5
- Protein: 1 g
- Cholesterol: 6 g
Now…here are some tips and tricks to making (fairly) uniform crispy, yet gooey cookies:
- Glucose. Yep. You read me right. That evil-ish ingredient common to all tasty North American treats. Honestly though, while this recipe does not need a lot of glucose, it really makes a difference to the crispiness of the cookies. You can also omit it if you want, or don’t have it (it’s not something you can just pick up in the baking aisle of the supermarket), but the cookies will be slightly fluffier.
- For those of you looking to buy it, quite honestly, your best bet is Amazon, unless you can find it in a baking specialty store, or maybe Bulk Barn. I bought it from what I call “the place that has everything” in the basement corner of the St. Lawrence Market in Toronto. Those of you who know the market well will know what I’m talking about. For those of you who don’t know, but live in TO, AND have been wondering where they should go to get super random (and cheap) foods, you’re welcome. If you can’t find what you’re looking for there, you can walk a little further down the hall to “the store that has almost everything” which specializes in more Asian-type sundries.
- N.B. Glucose is essentially highly processed corn product (or sometimes wheat). Ipso facto, those who are severely allergic to/intolerant of corn, should omit the glucose. Thankfully, my system isn’t THAT sensitive that it would react to the small amount of glucose that would be in each cookie.
- Ice cream scoops for the win! Scoop your cookie dough with those scoops that have one of those pushy/trigger thingies (see above). It makes your cookies more or less the same size AND squishes them tight so that they bake more evenly AND into cute circles.
- Finally, and most importantly, bake your cookies from frozen!!!! I know, I know. I probably sound insane, but baking your cookies from frozen means that, for one thing, the flavours get to meld together better, you get cute little circular cookies, AND, since the centre takes the longest to thaw/bake, you’ll get a gooey-er centre! Best of all, you don’t have to bake ALL of your cookies at once. I love cleaning out my freezer and finding cookies in there that I forgot about. It’s like finding $20 in that gym bag you almost never use. WIN!
I also have a few allergen notes for those of you who are, like me, in the realm of culinary leperdom!
- I described these cookies as being gluten-free-ish. Oat flour is technically gluten-free BUT oats are often grown in fields beside wheat and can become cross-contaminated. SO…people with severe gluten intolerances/allergies may have trouble with oat flour if they don’t get certified gluten-free oat flour like Only Oats Pure Whole Grain Oat Flour or Bob’s Red Mill Gluten Free Whole Grain Oat Flour
- I also said soy-free-ish because it’s next to impossible to find chocolate that doesn’t have soy lecithin as an emulsifying agent. After many tear-filled searches (not kidding) for chocolate I could eat, I finally found chocolate by Flagrants Desirs (which uses canola lecithin) in the above-mentioned “the place that has everything“. Since then, I’ve found that soy lecithin doesn’t really bother my system, so I actually used Lindt chocolate in these cookies because…well…c’mon…it’s Lindt chocolate…
- Baking powder also contains corn starch. Again, it’s not enough to irritate my system, but for those who are severely allergic/intolerant to corn should add another 1/4 tsp of baking soda (i.e. 1 tsp of baking soda total) AND 1/2 tsp of cream of tartar to the wet ingredients at the beginning to prevent baking soda and cream of tartar from reacting too early.
Ok…so that’s that! If you have any questions about substitutions or need clarification on instructions, post your comments below! If you make these beauties and love them as much as I do, definitely post your comments below! 😉

